How to take great lightning shots
When people see a good lightning shot, one of the questions that often gets asked is ‘What kind of camera did you use and what were your settings?’ While a good camera with manual controls and proper settings is a requirement, most cameras these days can take good lightning pictures.
Here are a few tips that we have learned over the years:
1. Watch the weather
Use any of the radar apps available for mobile phones. We like the Weather Channel app but there are many others that do a good job of indicating strength and direction of the storms. These apps help you plan your trip and destination. Your best bet is to check areas of town during the day and know exactly where you will be shooting from. Get a cheap GPS that allows you to mark locations. Go exploring during the day and mark several spots in town where storms are likely to hit. When a storm shows up, pick up the GPS and head over to your pre-planned spot. It is the difference between driving around like a maniac to find a good spot and enjoying your experience.
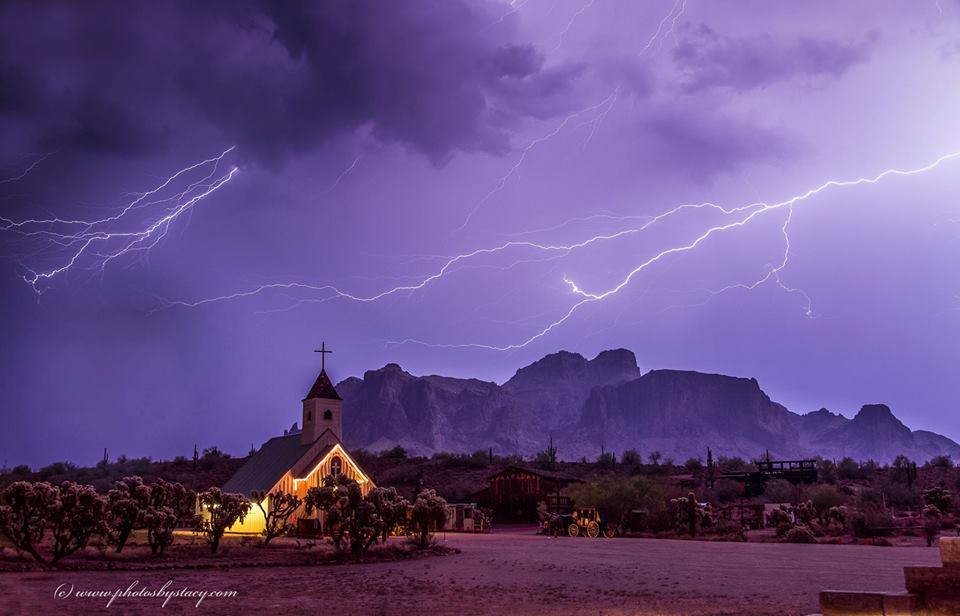
This was a very lucky shot. The storm was dying over the Superstition Mountains in Apache Junction. I was running out of battery when this lightning strike hit. I was happy with the shot and put the camera away. A few minutes later an amazing strike hit again. It was the last one of the night and I missed it. Lesson learned “check your batteries” and be grateful even if you don’t get 100% what you are looking for. Being our in a storm is likely to take your mind off many of your day to day problems and bring some excitement into your life, shot or no shot.
2. Bring a tripod and a flashlight
If it is not steady, it won’t look good. You are going to be shooting 4-10 sec exposures.
Unless you have perfect night vision and a perfect recollection of all the buttons in your camera, you will need a light. Bring a small flashlight with you. If you are adventurous, bring a huge flashlight to do light painting while you wait for lightning. It will make for great foregrounds.
3. Try to use a camera with Bulb setting
You will need this setting to control the length of your shot. You usually want to close the shutter the second a strike hits. It keeps the image from getting brighter. A remote trigger will be your best friend when storm chasing.
4. Use an intervalometer whenever possible
It makes life easier when you are able to program your shot duration. It also helps with camera shake to have a cable release to press the shutter rather than you own fingers or the camera timer. An intervalometer is also your best friend if you want to stay safe. If you are brave, you can leave your camera setup with an intervalometer and take cover. You risk damaging your gear if the wind picks up or it rains but there are times when you can safely do this. We have done it a few times. It worked well but it is risky. Whatever you do, if you are going to risk something, take a risk with your gear and not with your life.

We love lightning with city lights and structures. It adds magic to the images. A slow shutter does wonders with car trails and a middle of the road f-stop gives you a best chance for starburst in the lights.
5. Focus your lens on a distant object
It goes without saying that proper focusing at night is a must and a difficult task indeed. It is not as easy as it seems at night. The best advice is to shoot a few test shots and check for sharpness by zooming on the image. Yes, you will miss a few shots. Yes, it will happen while you check but the time you take to check for sharpness will keep your blood pressure under control in future shots. The last thing you want is the strike of a lifetime to be out of focus. We all have had too many of these and we are passing on this little bit of wisdom.
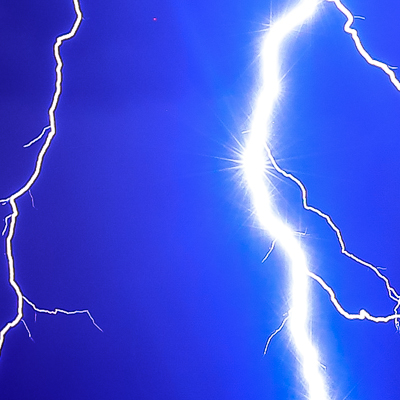
6. Set the camera to f/5.6 if lightning is far away and f/8 to f/11 if you feel it is getting close
This is just general advice. We tend to get very sharp images at f/5.6, however as soon as the storm starts to move towards us, we switch to f/8 or f/11. A bolt in front of the camera will be completely blown out if you are letting too much light in at f/5.6. A setting of f/11 or higher to get a good shot is also a good indication that it is either time to move away from the storm or take shelter.
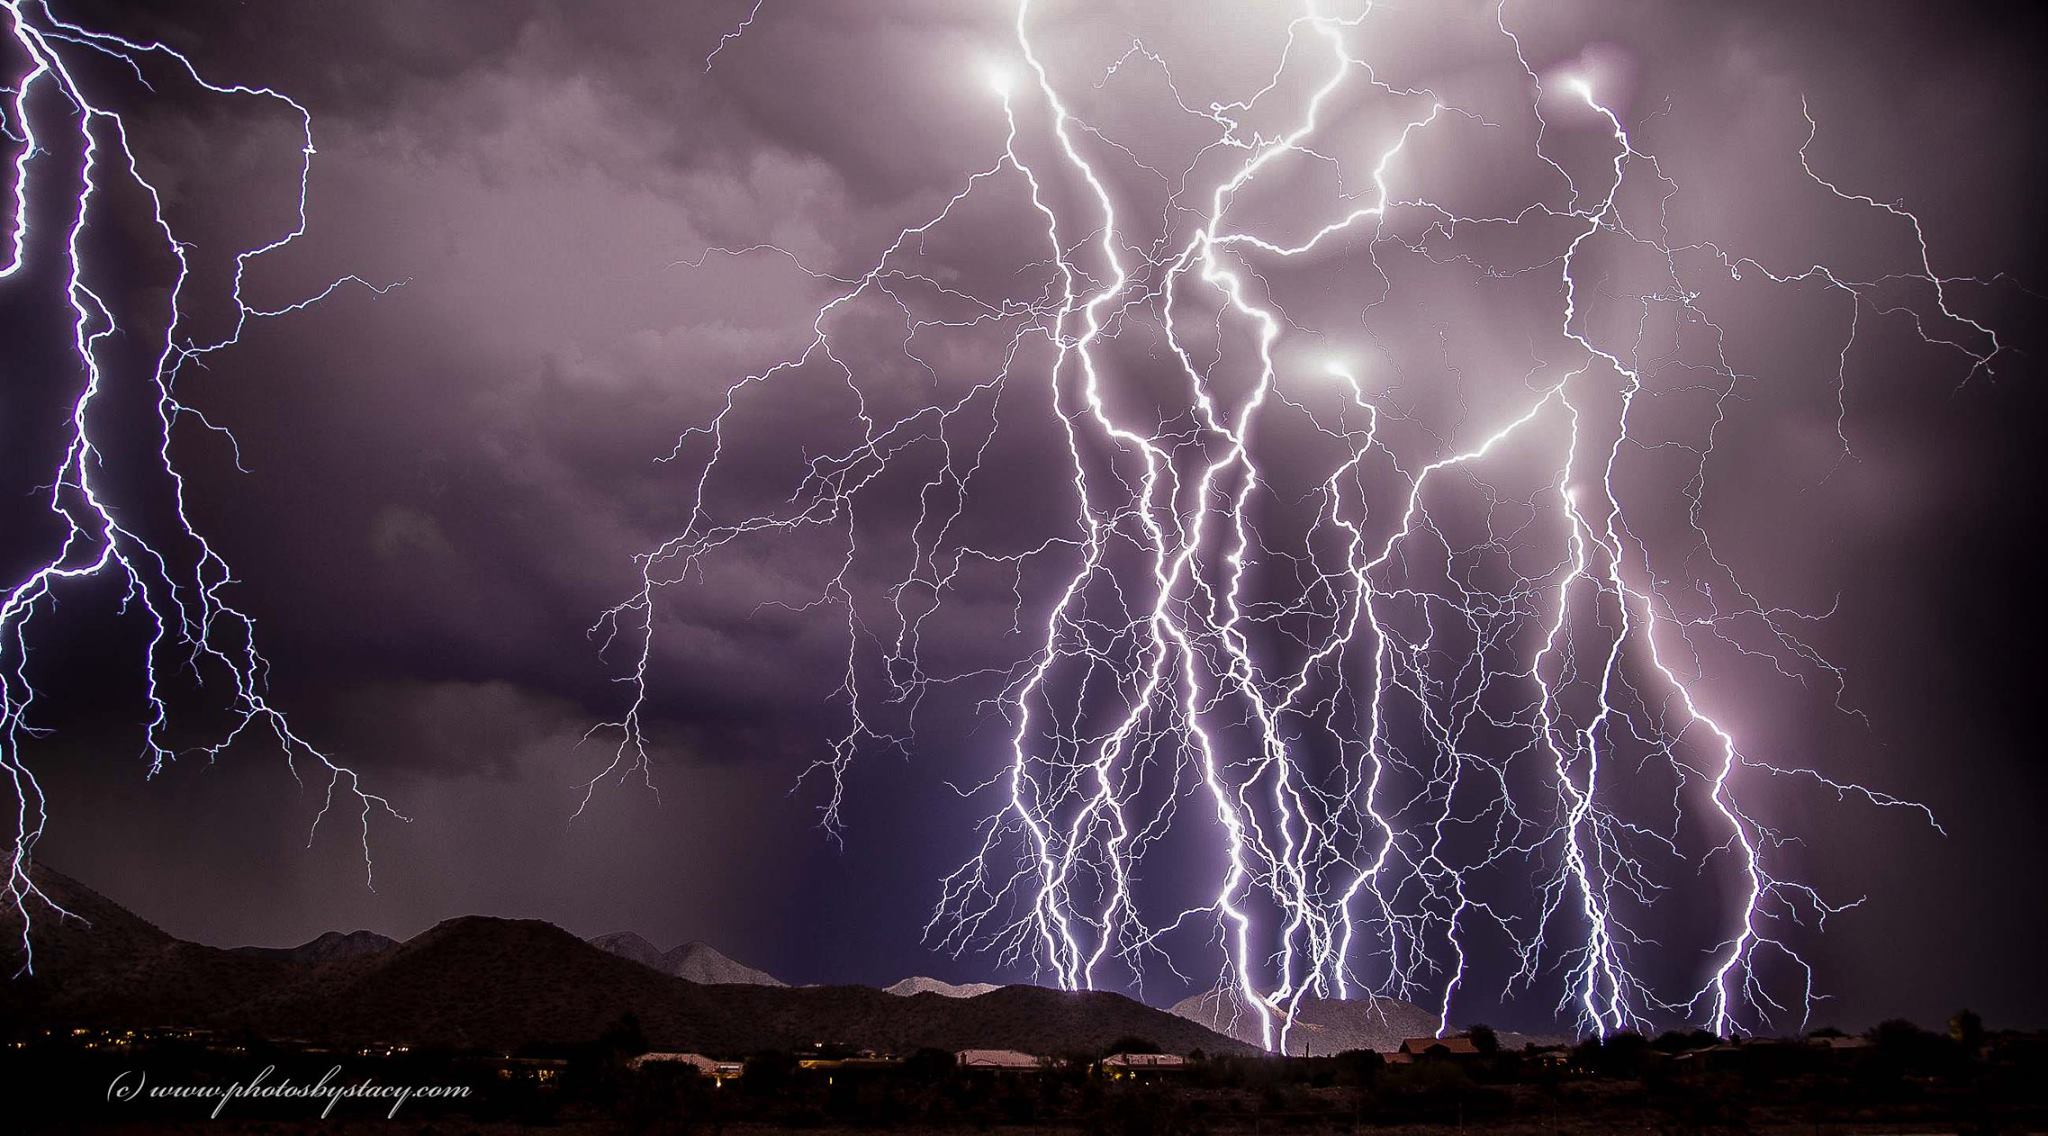
This was a good night. We kept our distance inside our home shooting from our balcony. What you see here is just a collection of lightning strikes all stacked into one frame. It makes for a very electrical storm experience but these were just individual bolts put together into one frame.
7. Get the right focal length
A wide angle camera is good for day time photography (16-24mm). However, a 40-70mm setting is usually your best bet. If you want to get anything that flashes in the sky, go wide. The strikes will likely not be well-defined and the impact won’t be as strong. This is good for stacking images but these aren’t always that exiting. If you want to take your chances on a good shot, look where the activity is in the cloud and zoom on it. You need to be in a total state of gratitude to accept whatever happens or don’t zoom. By that I mean, you will miss a lot of shots, however if you do get one in the frame and your settings are correct, you would have captured that shot of a lifetime. The level of detail when you zoom is out of this world.
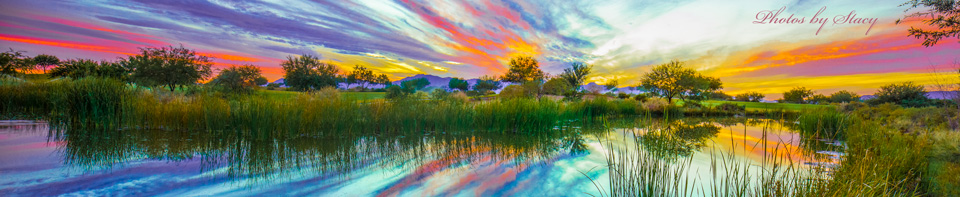
8. Location, location, location…
We have learned this one over the years. A lonely lightning shot has been done many times over. A landmark or a great composition with a structure makes a lightning shot stand out as a new way to present this landmark. We all have seen the lightning shot with a sahuaro, the lightning picture all by itself, that mountain everyone shoots etc. While these can be great to capture, try positioning yourself next to a major landmark in your town or better yet travel away from town where people as not as likely to have shot a landmark with lightning. Get creative. Incorporate new angles, use light painting… It will take time but it is very rewarding.
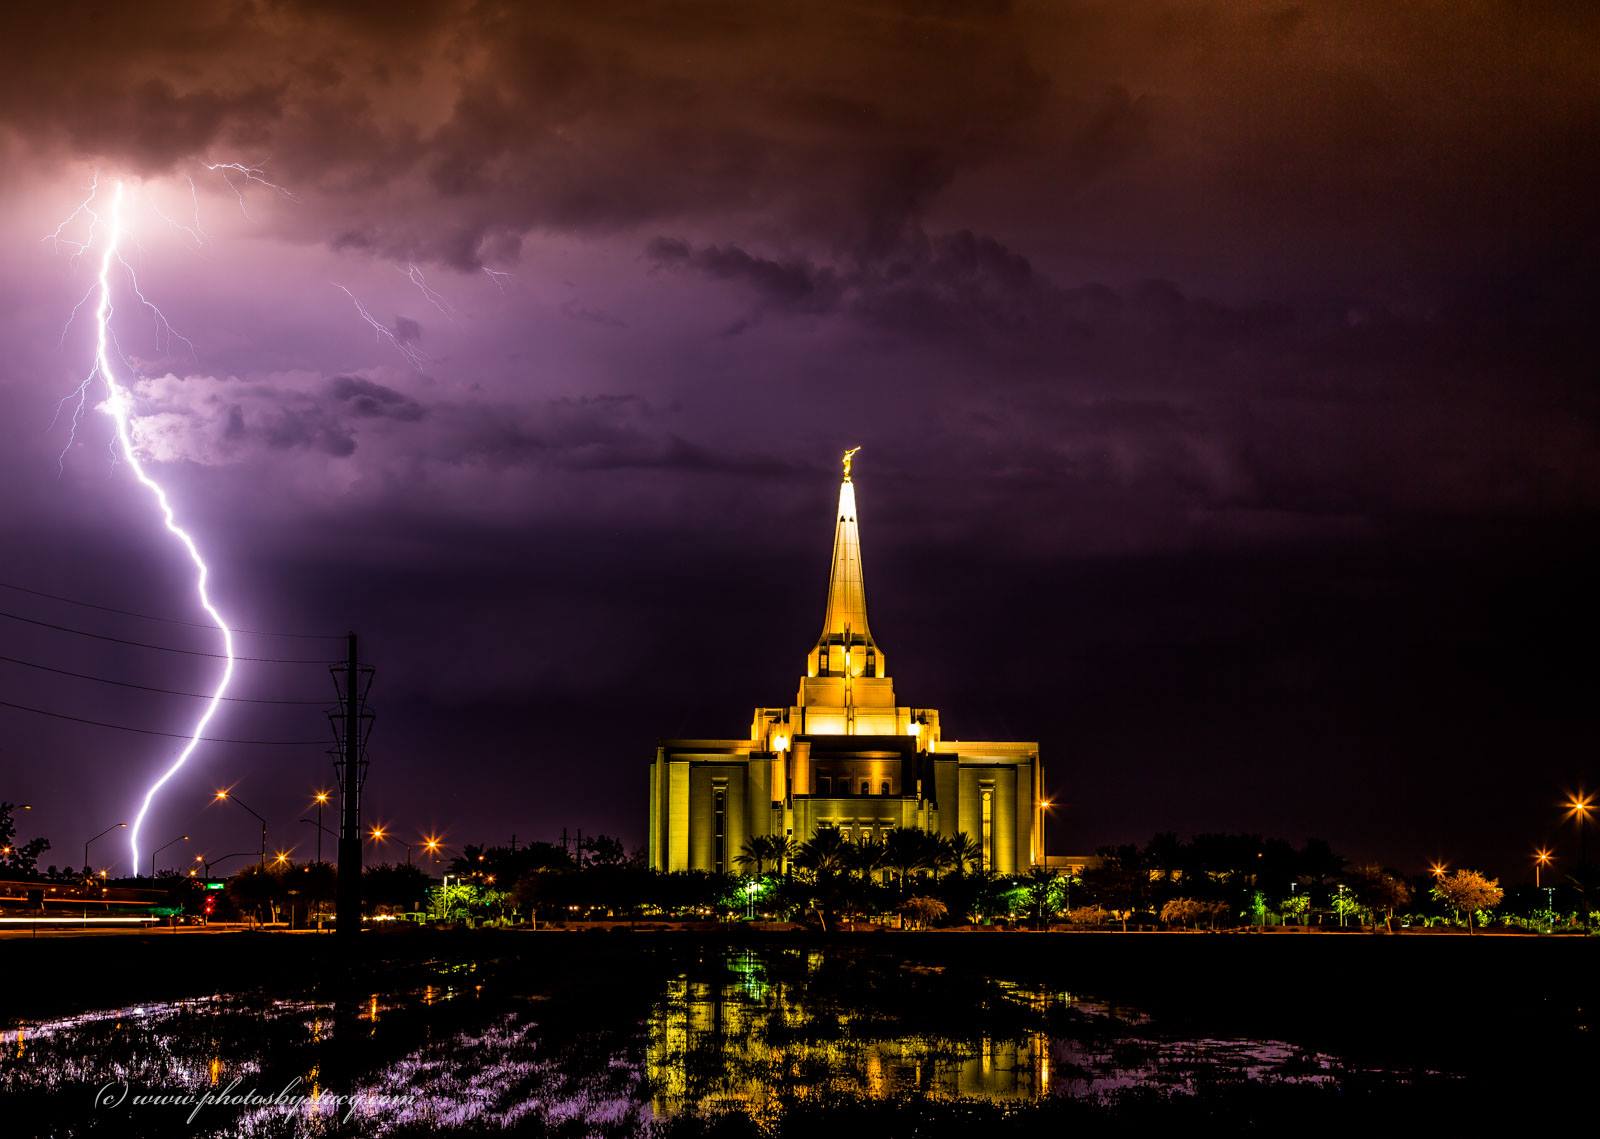
We ventured out to the Mormon Temple in Gilbert Arizona to capture lightning behind the Temple. Our goal was to capture a strike closer to the Temple that was reflecting in the water, however, the storm was fast and furious and we decided to save ourselves and try another day rather than risk being too close to the lightning. We were happy with this shot and have not been back to this location yet
7. Stay safe, at a very long distance from the strikes
If you keep your distance not only do you increase your chances of not being hit by lightning, you also increase your chances of getting a great shot.

Needless to say, this shoot was too close and it took a lot of highlight adjustments to get that bolt back. We were inside our home in a safe location. The camera was on a tripod outside shooting with an intervalometer. We were deaf for a few minutes after his hit.
8. You need luck, lots of it
Every photographer from the best to the not so good need this element to get a good shot. You can spend days chasing storms and without the element of luck, you won’t get much. So even if you do everything right, your shot may still escape you. Keep that in mind and keep on trying.
9. Get a good editing software
Ideally, you will be shooting in RAW. Jpeg will work for lightning, however we have found that even these B&W shots of lightning in the dark have a lot of color in them. If you get lucky enough that your strike hits the front of your subject, you are in heaven. It will make everything look like daylight and all the colors of the structure and surrounding areas will be there. That is where RAW comes into the pictures.
Besides shooting in RAW, you should bring your newly capture image into a quality editing software package. You will need to make quite a few adjustments to get the image right. One of the key adjustments is vibrance. Bring this one up high. It will make the bolt come to life. Contrast helps too as you want to define that bolt against the background.
Our favorite trick is to zoom very close to the lightning spiders and make all adjustments around the finest of the spiders. One you get this spider as clear as possible w/o noise, expand to see the whole picture. You will be surprised.
In our most recent image over Sedona AZ, we were able to capture starbursts along the main lightning strike. These show up clearly on large prints and they are very beautiful and unique. This was a combination of the lens we used to capture the image and the editing software that allowed us to manage the highlights of the main strike. Once you get that clean strike and spiders, your entire image takes on a new life.
Some of the best lightning images that we have taken involve structures, landscape, city lights and other elements that bring a lightning strike to life. Rain is a big problem, not just rain on top of you but rain in the distance where lightning is taking place. It helps at times to create a nice image but most times it makes the strikes lose sharpness, so stay far from the storm. You won’t get wet and yours shorts will be clearer.
The most exciting shots we have ever taken involve strikes in front of the subject. A strike in front lights up all the surrounding areas and makes for a ‘day time’ effect where colors are visible even in the dark. Strikes behind the subject keep everything dark with only the strike being visible. It is not as cool of an effect as when a strike hits in front.
Now for the question everyone asks, what are your settings and what is your gear.
Our settings are usually as follows:
f/8
ISO 100
RAW
Bulb
6 sec intervals
Lens at 40-50mm
The gear we use today is:
Canon 5D Mark IV
Canon 24-70 f/2.8 II
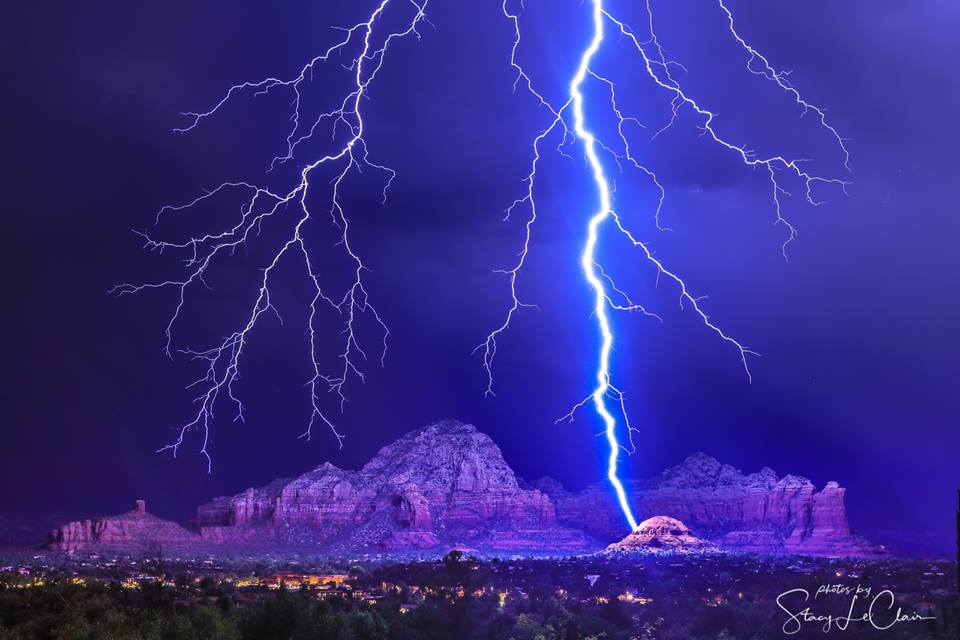
This has been our best shot this Monsoon season but not our last. We were extremely lucky to get this strike to hit in front of the mountain with the right aperture set on the camera. This strike hit around 11pm. We had 5 more storms move past the exact same location. There were lots of strikes but none of them matched the sharpness and vibrancy of this one. Luck is everything when it comes to lightning. This image was taken with a Canon 5D Mark IV and a 24-70L f/2.8 lens at f/8 and 100 ISO. One interesting feature of this image is the format it was captured with. This particular image was captured in JPG. I was taking timelapse pictures before the storm and simply forgot to reset the image type to RAW. Hopefully, the JPGs out of camera are good enough to produce good results. My partner who was shooting with me at the time had captured the exact same image. All our settings were identical except for one, image type. She had hers set to RAW. It probably would not have mattered much ‘except’ the strike hit the front of the mountain and there are a lot of red colors in Sedona. Her picture has better color definition in the mountain. You can see the difference if you visit our gallery as this was the image we uploaded for prints. Lesson learned ‘check all your camera settings’ before shooting, specially image type.
As time allows, we will update this blog with a few gadget suggestions we often use. Stay tuned!
We hope this blog helps you get out there and capture that perfect lightning shot.
Enjoy the Arizona Monsoon season. It has been great so far this year and there is more to come.